Using An Arduino As External Oscillator For An AVR Chip
As you may know, I am currently a freelance software developer. I write code for a living. However, I am more and more intereseted in building things that are not emprisoned in a screen. I've been playing with Arduino for a while now and I thought I would try using the AVR chips directy instead of relying on Arduino.
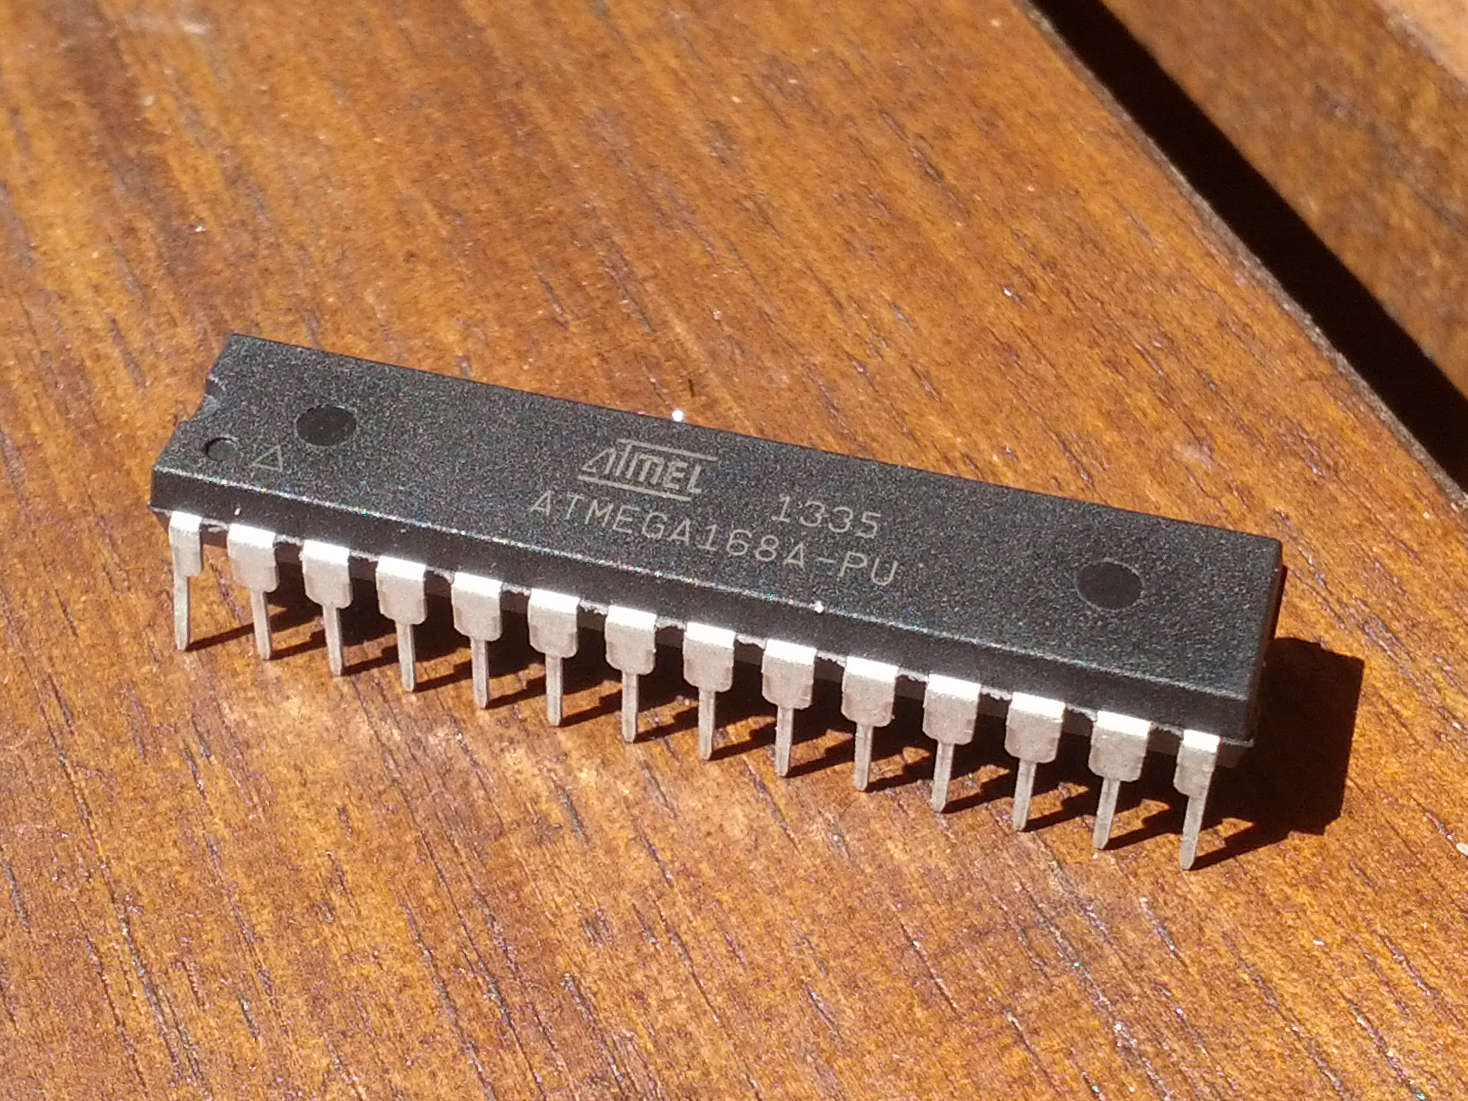
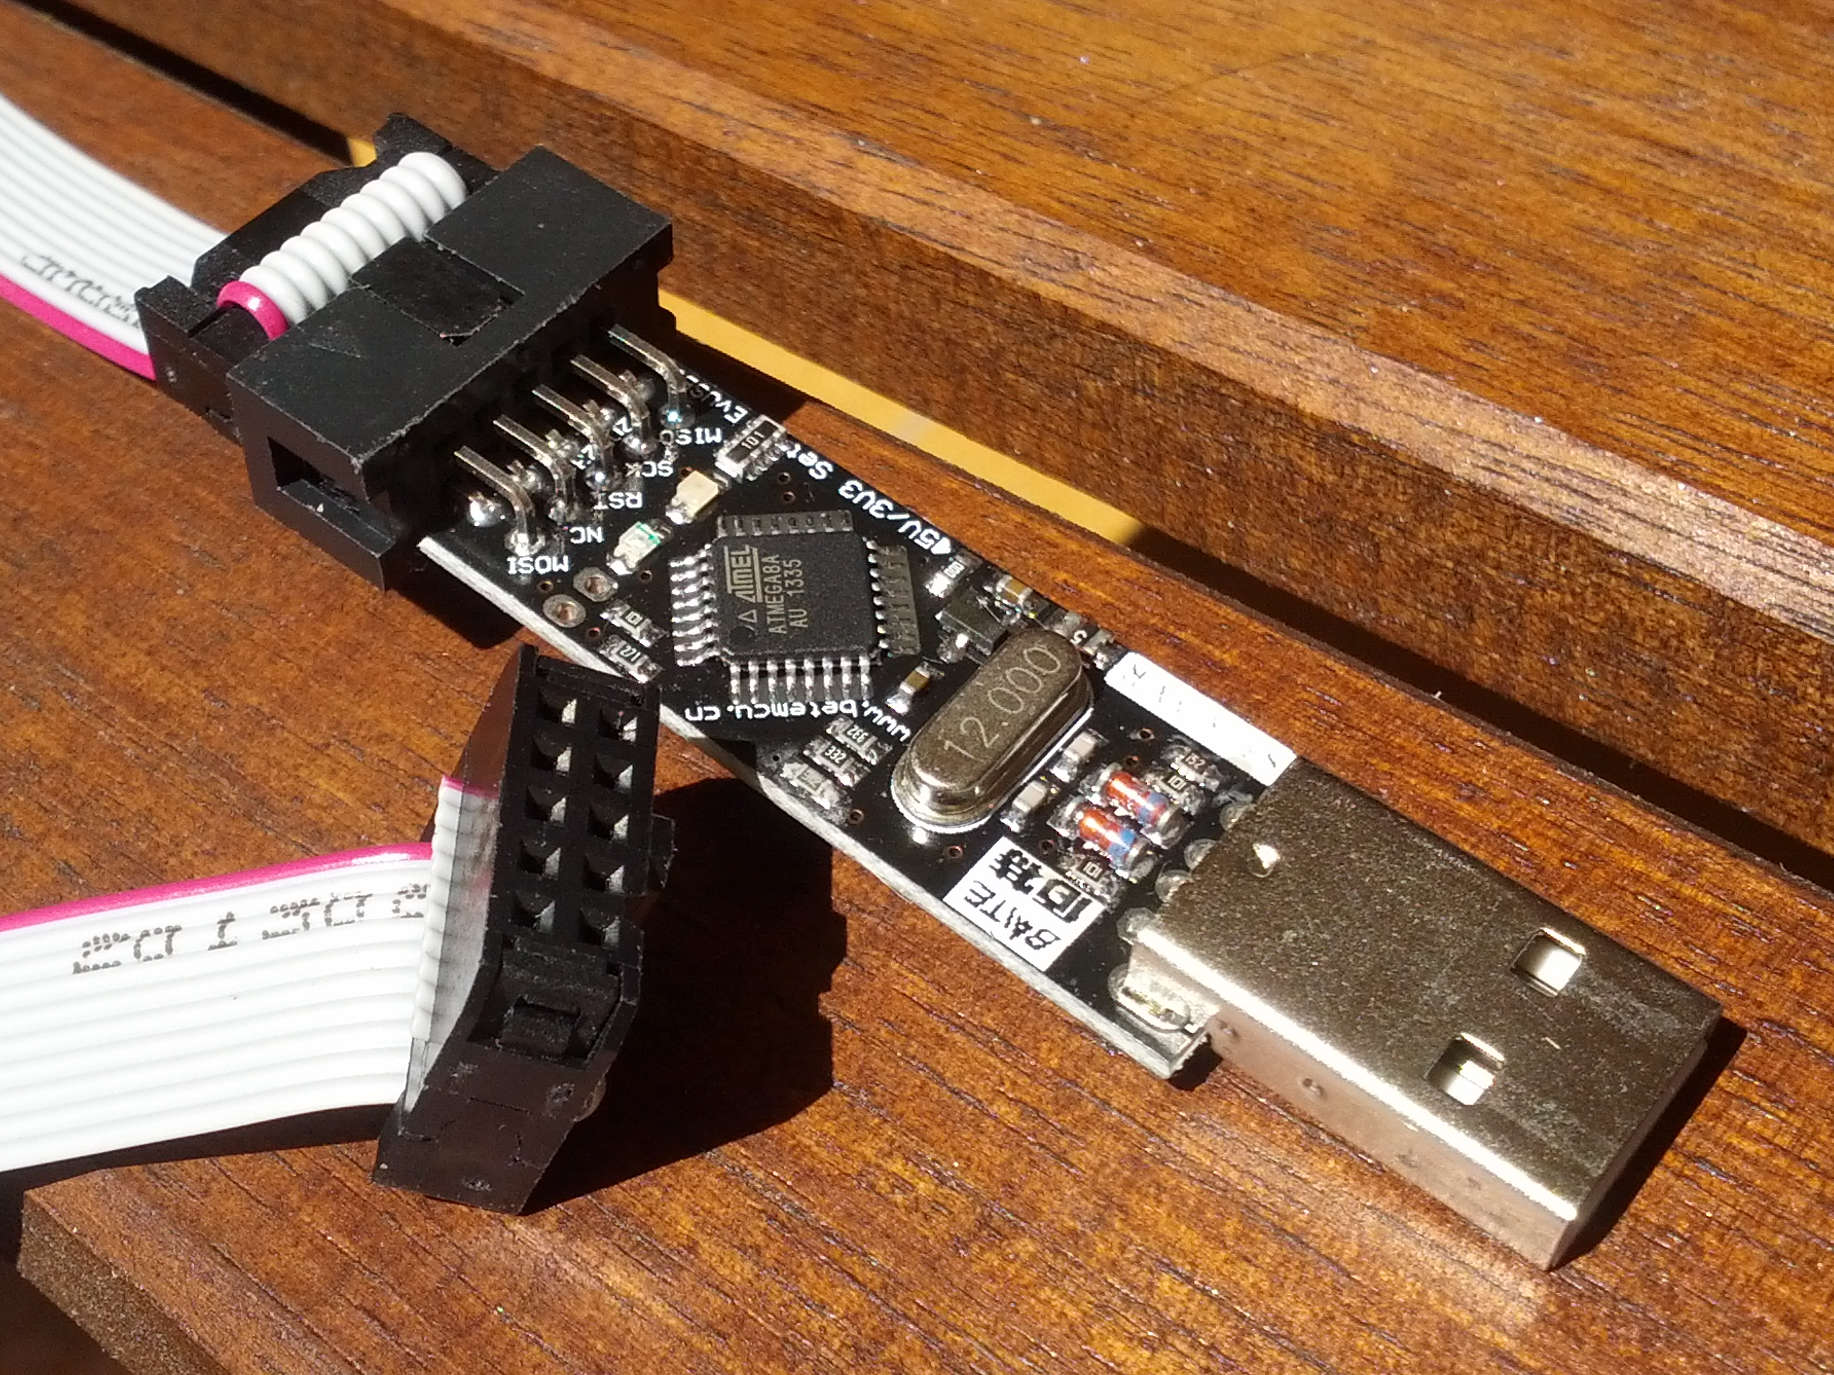
So I bought a few ATmega168's on ebay and an usbasp. Well, a cheap Chinese version of usbasp but it feels solid and is pretty small.
Then I decided to try my new things. I connected all the wires properly and plugged the usbasp in my laptop. I run Ubuntu 14.04 as I do this if that might help others in the future. First thing is to try to speak to the ATmega168:
avrdude -p atmega168 -c usbasp
I got this error message:
avrdude: Warning: cannot query manufacturer for device: error sending control message: Operation not permitted
avrdude: Warning: cannot query product for device: error sending control message: Operation not permitted
avrdude: error: could not find USB device with vid=0x16c0 pid=0x5dc vendor='www.fischl.de' product='USBasp'

avrdude done.  Thank you.
I guess I can change permissions later, but for now:
sudo avrdude -p atmega168 -c usbasp
Little bit better, but still not working:
avrdude: warning: cannot set sck period. please check for usbasp firmware update.
avrdude: error: programm enable: target doesn't answer. 1
avrdude: initialization failed, rc=-1
         Double check connections and try again, or use -F to override
         this check.


avrdude done.  Thank you.
I looked all over the web trying to figure out what was going on. Turns out the cheap Chinese usbasp's have a firmware that does not allow to set manually the clock speed. It's automatic. So when avrdude tries to set the clock speed and the usbasp does not change it, it complains. But since it's automatic, it should not cause problem. You can always try to update the firmware of your usbasp, which should let you change the clock speed manually, but you'll loose the automatic and will always have to specify it.
Since the clock speed was not the problem, I double (triple, etc.) checked the connections. I found other diagrams for the pinout of the usbasp, where every pin is reversed, mirror style. But this is just because some diagrams show the pins as they come out of the usbasp and others show it as they come out of the ribbon cable connector. After trying to reverse a few times, I found out there was a red wire in the ribbon to indicate Vcc. OK, some might think I'm stupid but when you don't know... Anyway, all my connections were right in the first place and it was not the problem.
Then I remembered that Arduino chips have some fuses set so they use an external oscillator for their clock, instead the internal clock. When the fuses are set to use the external oscillator, the chip is dead without it. So I had a look at the ebay auction where I bought the ATmega168's, and it says they are preloaded with the Arduino bootloader. Crap. And I don't have an oscillator at hand.
By searching more, I found this forum post. If you run in the same problem, I suggest you read it.
Basically, I guess the best way would have been to use an oscillator, but he suggests a few other ways to hack something to replace the oscillator. He suggests using a 555 timer at around 1 MHz. I have all that is needed, but I would have to select the proper RC components and wire all that together. Time consumming and too demanding at 2 AM. The other solution, which is nice, is that you can use another AVR chip as a clock. All my ATmega168 have an Arduino bootloader, so I can't use them right now. But I have an Arduino Uno that is very easy to program. Just plug it in USB and use Arduino IDE to upload.
So the code looks like this:
#include <avr/io.h>

int main(void) {
    DDRB = 0xFF;
    while (1) {
        PORTB ^= 0xFF;
    }
    return 0;
}
I didn't translate it to Arduino, since it compiled and uploaded without complaining. You can connect any pin of PORTB of the Arduino (that is 8-13) to XTAL1 of the ATmega168.
I took the default fuses for ATmega168 of this calculator.
sudo avrdude -p atmega168 -c usbasp -U lfuse:w:0x62:m -U hfuse:w:0xdf:m -U efuse:w:0xf9:m
It worked and I can now program my ATmega168's. Hurray!